


Falklands War 1982: Complete Campaign Field Guide — Task Force, Timeline, Ground & Turning Points // Log 010
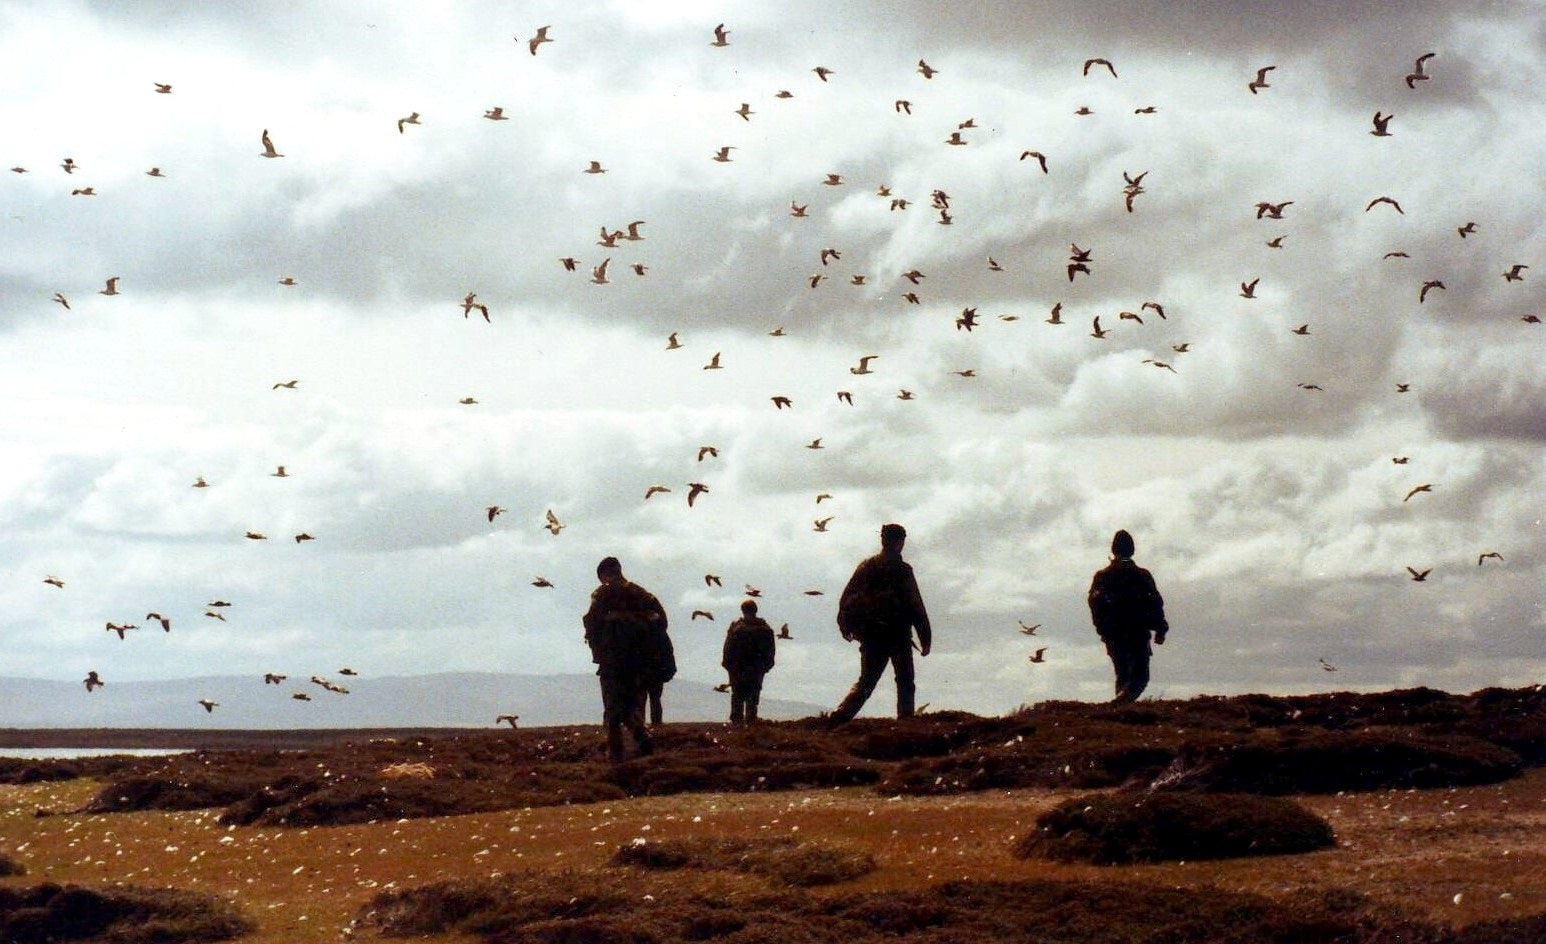
Falklands War, 2 April–14 June 1982. The campaign is often remembered as a sequence of famous episodes — the Task Force sailing, Belgrano, Sheffield, San Carlos, Goose Green, Mount Longdon and the surrender at Stanley. The difficulty is seeing how those events fitted together.
I served 24 years in the British Army, including infantry, Recce Platoon and CIS/communications roles and multiple operational tours. That background makes me read a campaign as a connected system: political intent, distance, intelligence, sea control, air defence, landing points, routes, communications, logistics and finally the ground that troops have to cross. I was not involved in the Falklands War. Service experience helps frame the questions; the historical evidence comes from contemporary, official, veteran, Argentine and Falkland Islands sources.
Start with the politics: the war did not begin on the battlefield. For the sovereignty dispute, South Georgia crisis, Argentine junta, Thatcher government, UN Resolution 502 and Haig shuttle diplomacy, read Log 009 — The Political Road to War. This article picks up the military campaign while keeping that political context in view.
At a glance
- Conflict: United Kingdom and Argentina over the Falkland Islands/Islas Malvinas and associated South Atlantic territories.
- Opening: Argentine forces occupied the Falklands on 2 April 1982.
- British operation: Operation Corporate, the joint campaign to restore British administration.
- Distance: roughly 8,000 miles / 13,000 km from the United Kingdom.
- Principal British land force: 3 Commando Brigade, later reinforced by 5 Infantry Brigade, under Land Forces commander Major General Jeremy Moore.
- Argentine commander in the islands: Brigadier General Mario Benjamín Menéndez.
- British amphibious landing: San Carlos Water, 21 May.
- First major land battle: Goose Green, 28–29 May.
- Final battles: 11–14 June around the mountain line west of Stanley.
- End: Menéndez surrendered Argentine forces in the islands to Moore on 14 June 1982.
The geography: why the campaign was difficult before anyone fired a shot
The Falklands are remote from Britain and close to the Argentine mainland. That simple fact shaped almost every operational decision. Britain had to move ships, aircraft, troops, ammunition, fuel, medical support and replacement equipment across the Atlantic, largely through the staging base at Ascension Island. Argentina could operate combat aircraft from mainland bases, although range limited their time over the islands.

East Falkland then created a second level of difficulty. Outside Stanley the road network was sparse. Peat, bog, rock, ridges and cold wet weather turned short map distances into demanding marches. Helicopters were valuable but limited in number, and the loss of the transport ship Atlantic Conveyor with most of the heavy-lift Chinooks made the ground movement problem worse.
This is why the campaign should be read at three scales: the Atlantic supply line, the sea and air battle around the islands, and the infantry-scale terrain of East Falkland.
Command structure: who was making the major decisions?
British
- Admiral Sir John Fieldhouse — Commander-in-Chief Fleet and overall Task Force commander from Northwood.
- Rear Admiral John “Sandy” Woodward — commanded the carrier battle group and maritime combat operations in the South Atlantic.
- Commodore Michael Clapp — commanded the amphibious task group responsible for getting the landing force ashore.
- Brigadier Julian Thompson RM — commanded 3 Commando Brigade during the landing and early ground campaign.
- Major General Jeremy Moore RM — Commander Land Forces; arrived ashore at the end of May and directed the final ground campaign.
- Brigadier Tony Wilson — commanded 5 Infantry Brigade.
Argentine
- Lieutenant General Leopoldo Galtieri — de facto President and member of the military junta in Buenos Aires.
- Vice Admiral Juan José Lombardo — senior Argentine naval commander for South Atlantic operations.
- Brigadier General Mario Menéndez — military governor and commander of Argentine forces in the Falklands.
- Brigadier Ernesto Crespo — commanded Fuerza Aérea Sur, the Argentine Air Force organisation conducting operations from the mainland.
Command was joint on both sides but not frictionless. Sea, air and land priorities competed for resources, and the immense distances meant decisions made in London, Northwood or Buenos Aires could reach commanders after the local picture had already changed.
2–3 April: Argentine occupation
Argentine forces landed around Stanley on 2 April in Operation Rosario. The British garrison, centred on Royal Marines of Naval Party 8901, was heavily outnumbered. Governor Sir Rex Hunt ordered surrender after resistance around Government House and other positions rather than continue fighting in the settlement without a realistic prospect of success.

South Georgia was occupied the following day. The strategic problem for Britain was now stark: remove a garrison thousands of miles from the UK while operating under threat from submarines, surface ships and land-based combat aircraft.
5 April onwards: the Task Force
The first major elements sailed on 5 April. The force ultimately involved around a hundred ships when Royal Navy, Royal Fleet Auxiliary and requisitioned merchant vessels are counted. The carriers HMS Hermes and HMS Invincible were critical because Sea Harriers provided the fleet’s fighter cover.
The amphibious force included HMS Fearless, HMS Intrepid, SS Canberra and other vessels carrying 3 Commando Brigade. Ascension Island became the logistical hinge between Britain and the South Atlantic. Aircraft, stores and personnel flowed through a base never designed to sustain an operation on that scale.
25–26 April: South Georgia
British forces retook South Georgia in Operation Paraquet. The operation included Royal Marines, Special Forces, ships and helicopters and ended with the surrender of the Argentine garrison on 25–26 April.
Militarily, South Georgia was not the Falklands. Politically and psychologically, however, the success demonstrated that the Task Force was not merely sailing south as a negotiating gesture.
1 May: the main air and sea campaign begins
On 1 May RAF Vulcan bombers carried out the first Black Buck strike against Stanley airfield after an extraordinary series of tanker refuellings from Ascension. Sea Harriers and naval gunfire also attacked targets while Argentine aircraft responded from the mainland and the islands.
The strategic airfield at Stanley remained usable by smaller transport and combat-support aircraft, but the runway was not turned into a base from which Argentina could operate its main high-performance fighters. Those continued flying from the mainland, creating a range-versus-time problem: Argentine pilots could reach the fleet but had limited time to identify targets, attack and return.
2 May: ARA General Belgrano
The nuclear-powered submarine HMS Conqueror sank the Argentine cruiser ARA General Belgrano on 2 May. More than 300 Argentine sailors died. The sinking remains one of the most politically disputed events of the campaign, particularly because the cruiser was outside the declared Total Exclusion Zone when attacked.
Operationally, the effect was significant. The Argentine surface fleet largely withdrew to coastal waters, reducing the threat of a coordinated surface attack on the British carriers and amphibious force. The Argentine submarine threat and, above all, the air threat remained.
4 May: HMS Sheffield
Two days later the air threat became brutally clear. Argentine Super Étendards launched Exocet missiles; HMS Sheffield was struck and later sank. Twenty of her crew were killed.
The campaign therefore entered May with each side having demonstrated a capacity to inflict serious losses at sea. Britain needed enough maritime and air control to put a brigade ashore. Argentina needed to make the fleet’s position so costly that the landing could be prevented or politically halted.
14–15 May: Pebble Island
The SAS raided the Argentine airstrip on Pebble Island, destroying aircraft and damaging the local aviation threat. The action mattered less because of the number of aircraft destroyed than because it reduced the risk to ships and helicopters operating on the western approaches to East Falkland.
21 May: San Carlos — the war comes ashore
In Operation Sutton, 3 Commando Brigade landed around San Carlos Water. The site provided sheltered anchorages and was away from the main Argentine concentration at Stanley, but it also created a difficult air-defence problem. Argentine aircraft could use the surrounding terrain to approach low and give ships very little warning.

40 Commando, 42 Commando, 45 Commando, 2 PARA and 3 PARA formed the core of the landing force, supported by artillery, engineers, air defence, logistics and naval units. The landings themselves succeeded. The battle over the anchorage then continued for days as Argentine aircraft repeatedly attacked British ships.
HMS Ardent, HMS Antelope and HMS Coventry were among the ships lost during the wider San Carlos phase; others were damaged. To the troops ashore, the sight of ships being hit behind them was a reminder that the beachhead’s supply line was being contested in real time.
Read Log 011 — San Carlos: complete landing guide →
25 May: Atlantic Conveyor
The merchant ship Atlantic Conveyor was struck by Exocet missiles on 25 May. Twelve men died. The loss of helicopters, stores and equipment had an outsized effect on the land campaign. Only one of the Chinook helicopters carried aboard survived.
This is a perfect example of logistics becoming tactics. The planned mobility available to the land force disappeared in a few minutes. Troops would now cover much more ground on foot and commanders had fewer options for rapidly repositioning heavy equipment and supplies.
28–29 May: Goose Green
2 PARA attacked the Argentine position at Darwin and Goose Green. The battle was fought across a narrow isthmus where open ground, prepared positions, limited cover and daylight created severe tactical problems. Lieutenant Colonel H Jones was killed; Major Chris Keeble assumed command. The Argentine force under Lieutenant Colonel Ítalo Piaggi surrendered on 29 May.
Eighteen British soldiers were killed and more than sixty wounded. Argentine losses were also substantial and more than 900 personnel were taken prisoner.
Goose Green mattered militarily, psychologically and politically. It removed a substantial Argentine force south of the beachhead and demonstrated that British ground forces could defeat prepared positions. It did not, however, solve the main task: Stanley remained the decisive objective.
Read Log 012 — Goose Green: complete battle guide →
The advance east: the map lies about distance
While 2 PARA fought at Goose Green, other units pushed across East Falkland. 3 PARA moved towards Teal Inlet and Estancia. Royal Marines advanced on northern routes. The combination of limited helicopter lift and difficult ground produced the famous image of troops “yomping” with heavy loads.
The military problem was not simply to reach Stanley. Artillery, ammunition, medical support, communications equipment, food and fuel had to move with the infantry. A battalion can walk farther than its support system can sustain unless the logistics plan keeps pace.
Read Log 004 — The Falklands: When the Map Lies About Distance →
30 May onwards: 5 Infantry Brigade and command of the land battle
Major General Jeremy Moore arrived with 5 Infantry Brigade, which included the Welsh Guards, Scots Guards and 1/7th Duke of Edinburgh’s Own Gurkha Rifles. The land force was now large enough for a two-brigade advance, but coordinating it across poor routes remained difficult.
Moore decided that the mountain line west of Stanley had to be taken rather than bypassed. 3 Commando Brigade would press from the north while 5 Infantry Brigade developed the southern axis.
8 June: Fitzroy and Bluff Cove
The southern advance moved quickly enough to create its own logistical vulnerability. At Fitzroy and Bluff Cove, the effort to bring 5 Brigade forward outran the available landing craft and helicopter support. RFA Sir Galahad and RFA Sir Tristram remained exposed while unloading.
Argentine aircraft attacked on 8 June. Forty-eight British servicemen and crew were killed in the attacks on the landing ships, including 32 Welsh Guards aboard Sir Galahad. Many more suffered severe burns. It was the worst single British loss of life in the conflict.
The disaster demonstrates why “movement” is not the same as “combat power forward”. A brigade only becomes useful at the front when its men, vehicles, air defence, artillery and stores arrive in a coherent state.
11–12 June: the outer mountain line
The first coordinated assault on the high ground west of Stanley began at night. The British fire plan was much heavier than at Goose Green, with artillery and naval gunfire prepared in depth.
- 3 PARA — Mount Longdon: severe close fighting against entrenched Argentine positions. Twenty-three members of 3 PARA were killed. Sergeant Ian McKay received a posthumous Victoria Cross.
- 42 Commando — Mount Harriet: a carefully prepared night attack outflanked and broke the Argentine position.
- 45 Commando — Two Sisters: another difficult night battle across steep and broken ground.
By 12 June the outer line had been breached, but Argentine forces still held Tumbledown, Wireless Ridge and other positions nearer Stanley.
13–14 June: Tumbledown and Wireless Ridge
The Scots Guards attacked Mount Tumbledown while 2 PARA attacked Wireless Ridge. By this stage British commanders had concentrated considerable artillery, mortar, naval and armoured support.
At Wireless Ridge, 2 PARA had the sort of integrated fire support that had been absent at Goose Green: two artillery batteries, mortars, HMS Ambuscade and Scorpion/Scimitar light armour all contributed. The position fell with three members of 2 PARA killed.
On Tumbledown, the Scots Guards fought through strong Argentine Marine positions in a hard night action. Once Tumbledown and Wireless Ridge were lost, the defensive system around Stanley changed decisively.

Read Log 013 — Mount Longdon to Stanley: complete final-battles guide →
14 June: surrender at Stanley
As British units approached Stanley, Argentine troops withdrew from the mountain positions towards the town. Menéndez judged the military situation untenable and met Moore.
The surrender instrument, preserved by the Falkland Islands National Archives, records Menéndez surrendering all Argentine land, sea and air forces in the islands to Moore. Organised fighting ended on 14 June.
Contemporary voices
Campaign history becomes distorted if it is written only through headquarters decisions. British veterans describe cold, weight, fatigue, peat and the shock of seeing ships burn. Argentine veterans describe long periods in exposed positions, shortages, British artillery and the uncertainty of a defence increasingly cut off from reinforcement. Falkland Islanders experienced occupation, confinement, shelling and the movement of both armies through civilian ground.
Those perspectives do not cancel one another. They explain why the same campaign can look entirely different depending on whether the observer is in Northwood, a fighter cockpit, a trench outside Stanley or a farmhouse between the armies.
What I notice through a recce/CIS lens
The Atlantic was part of the battlefield. A supply item sitting in Britain was tactically irrelevant until it survived transport, transfer through Ascension, the voyage south, unloading and movement forward.
Information had to cross domains. Radar contacts, submarine reports, air warnings, Special Forces patrols, artillery observation and battalion reports only mattered if they reached the people able to act on them in time.
Terrain kept rewriting the communications problem. Hills and distance affect line-of-sight systems. Units spread over East Falkland had to maintain command networks while moving, fighting and carrying limited power and equipment.
Logistics repeatedly became tactical. Atlantic Conveyor, Bluff Cove, artillery ammunition at the final battles and helicopter availability all changed what commanders could realistically order.
Joint warfare is coordination under friction. Sea Harriers protecting ships, naval guns supporting infantry, RAF tankers sustaining Black Buck, artillery moving with commandos and merchant vessels carrying troops were not separate stories. They were one interdependent campaign.
Casualties and cost
Official totals commonly record 255 British military personnel killed during the conflict and 649 Argentine military personnel killed. Three Falkland Islands civilians were also killed. Hundreds more on both sides were wounded.
Numbers do not show the full legacy. The war continued in the lives of veterans, bereaved families and islanders long after 14 June. That is one reason Gallus treats remembrance and mental-health history as part of the same archive rather than separating “battle” from what followed it.
Wear the campaign
- Falkland Islands 1982 Map T-Shirt
- East Falkland 1982 Map T-Shirt
- 1982 South Atlantic T-Shirt — Falklands Campaign Heritage
- Operation Corporate: Falklands 1982 Veteran T-Shirt
- Sea Harrier 1982 Hoodie
- Goose Green 1982 T-Shirt
- Mount Longdon 1982 T-Shirt
- Port Stanley 1982 T-Shirt
- Falklands 1982 Victory Hoodie
Browse the full Falklands War collection.
Sources & further research
- National Army Museum — The British Army and the Falklands War
- National Museum of the Royal Navy — key naval dates
- RAF Air Historical Branch — RAF Operations During the Falklands Conflict 1982
- Falkland Islands National Archives — 1982 records and surrender instrument
- South Atlantic Medal Association 1982 — veteran material and campaign overview
- Argentine Air Force — Malvinas campaign timeline
- US Department of State — diplomatic documentary history
- Lawrence Freedman, The Official History of the Falklands Campaign, Volume II; Martin Middlebrook, The Falklands War, 1982; Max Hastings & Simon Jenkins, The Battle for the Falklands; Julian Thompson, No Picnic.
I compare terminology, casualty figures and interpretations across British, Argentine, veteran and Falkland Islands material. Where an event remains politically disputed, I keep the tactical effect separate from the political interpretation rather than presenting one uncontested conclusion.
