


Falklands 1982: Why the Map Lies About Distance — Terrain, Routes & Logistics // Log 004
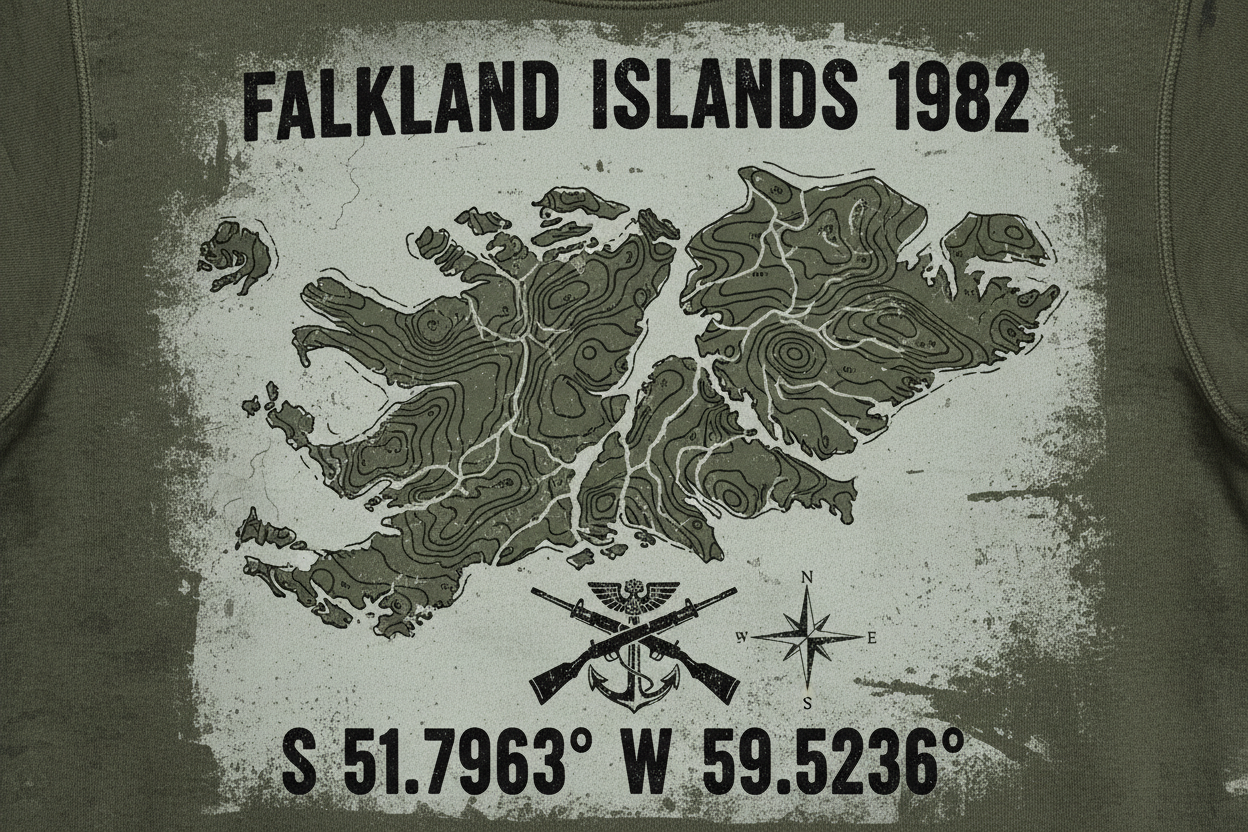
A Falklands campaign map is honest about location and dishonest about effort. San Carlos to Stanley does not look impossibly far. Goose Green, Mount Kent, Teal Inlet, Longdon and Tumbledown sit close enough together that the arrows seem manageable. Add peat, bog, rock, cold, darkness, ammunition, radios, support weapons and the need to arrive ready to fight, and the same map becomes a different document.
I served 12 years with The Royal Welsh as a mortarman, including operational service in Afghanistan. Mortars teach you that distance has weight. Tubes, baseplates, sights and bombs all have to move, and the useful firing point is not simply the place closest to the target. It has to be reachable, supportable, masked where necessary and connected to an observer. That is how I read the Falklands ground.
For the political road to the campaign, start with Log 009. For the complete campaign sequence, see Log 010.
The first misconception: East Falkland is not flat
The islands are not mountainous in the sense of the Alps or Afghanistan, but that does not make the terrain tactically simple. East Falkland is a landscape of ridges, rocky outcrops, valleys, peat and wet ground. Small changes in height can dominate observation across open country.
That matters because the campaign was fought by forces that depended on line of sight, artillery observation, radio communications and movement across relatively few usable tracks. A feature does not have to be very high to become important when most of the surrounding ground is exposed.

Peat: the ground under every decision
Peat can carry a man in one place and swallow a boot a few metres later. For vehicles it can be worse. A route that looks direct on a map may be slower than a longer route using firmer ground.
The practical effect compounds. A soldier who spends hours pulling his feet out of wet ground is more tired at the objective. A vehicle that bogs blocks a route and ties up recovery assets. An ammunition resupply delayed by ground conditions changes how much fire a unit can request later.
Bad ground is therefore not background scenery. It consumes time, energy and options.
The road network: why San Carlos created a movement problem
San Carlos was an excellent place to put a brigade ashore because it offered sheltered water and was away from the main Argentine positions around Stanley. The price was geography. The beachhead was on the western side of East Falkland and the decisive objective was in the east.
There was no dense road network capable of carrying a modern brigade directly across the island. Tracks existed, settlements offered local routes and vehicles were used where possible, but much of the force had to move on foot.
This is why the famous “yomp” should not be reduced to a photograph of tired infantry. It was a consequence of the relationship between landing site, road network, lost helicopter lift, available vehicles and the need to maintain operational momentum.
Atlantic Conveyor: one ship changes the map
When Atlantic Conveyor was struck by Exocet missiles on 25 May, most of the heavy-lift Chinook helicopters she carried were lost. One Chinook, later famous as Bravo November, survived because it was airborne.
Helicopters had never been an unlimited solution, but their loss dramatically reduced the ability to move troops, guns and stores rapidly over difficult terrain. A route that might have been bypassed from the air now had to be walked or driven.
That is a useful campaign lesson: mobility is a resource. Lose the platform that provides it and the same terrain becomes a different tactical problem overnight.
A mortarman sees a different map
An infantry map is full of objectives and routes. A mortar map adds another layer:
- Where can the mortar line physically sit?
- Can the detachment get the tube, baseplate and bombs there?
- What ground masks the weapon from direct observation?
- Can the observer see the target area?
- Can the observer speak reliably to the mortar line?
- Can ammunition be replenished fast enough to sustain repeated fire missions?
- What happens when the infantry advances beyond the useful range arc?
Those questions apply to artillery as well. The final battles around Stanley required thousands of 105 mm rounds to be moved forward before the attacks began. The fire plan existed because the logistics plan made it physically possible.
Observation: every ridge changes what can be seen
Open country creates the impression that everyone can see everything. In practice, ridges and folds produce dead ground. A unit can disappear behind a few metres of relief. An observer on the right feature can dominate miles of approaches.
Mount Longdon demonstrates this after the objective was captured. Argentine observers farther east were still able to direct accurate artillery and mortar fire onto the position. Taking one ridge did not remove the observation problem until the wider defensive belt was broken.
That is why military terrain is relational. A hill matters because of what it can see, what it hides and what other ground it controls.
San Carlos: sheltered water, masked air threat
The hills around San Carlos helped shelter the amphibious anchorage. They also allowed Argentine aircraft to approach low, using terrain to reduce the warning available to ships.
The same geography therefore helped one part of the British plan and complicated another. Terrain is rarely simply “good” or “bad”. It benefits a particular action from a particular direction.
Read Log 011 — San Carlos: Landings, Order of Battle & Air Attacks →
Goose Green: narrow ground creates a long battle
The Darwin–Goose Green isthmus is another example of a short distance becoming tactically expensive. Water restricted lateral movement, the defenders occupied positions with long fields of fire and daylight exposed attackers moving across open ground.
On a map the battalion moves south. On the ground, each locality — Burntside House, Boca House, Darwin Hill, the airfield and Goose Green — became a separate problem.
Read Log 012 — Battle of Goose Green: Complete Field Guide →
Teal Inlet and Estancia: logistics follows the advance
As 3 PARA and Royal Marine units moved east, settlements such as Teal Inlet and Estancia became useful not because they were major towns but because they could anchor routes, headquarters, supply points and the next phase of movement.
A campaign across sparse terrain naturally gravitates towards whatever infrastructure exists. A jetty, farmhouse, track junction or sheltered inlet can acquire operational importance far beyond its civilian size.
Mount Kent: high ground before the final line
Mount Kent and surrounding features offered observation over the approaches to Stanley and became the scene of Special Forces activity before the main brigades arrived. Controlling high ground here helped the British build a picture of the Argentine defensive line and prepare the final advance.
Again, the map can mislead if it is read only as distance. Mount Kent’s value was what it allowed commanders and observers to understand.
The final mountains: one captured feature changes the next
Longdon, Two Sisters and Harriet formed part of the outer belt. Tumbledown and Wireless Ridge sat nearer Stanley. British commanders did not treat them as interchangeable hills. Each had different defenders, approaches, observation and supporting-fire relationships.
Once the outer line fell, artillery observers and assaulting units moved forward. Once Tumbledown and Wireless Ridge fell, the defensive geometry around Stanley changed again. The campaign accelerated because the value of the remaining ground collapsed.
Read Log 013 — Mount Longdon to Stanley: Complete Final Battles Guide →
Weather: not an anecdote, a planning factor
Cold, wind, rain and low cloud affected people and systems. Wet clothing increases fatigue. Low cloud can reduce air operations. Wind changes helicopter and landing-craft conditions. Darkness provides concealment but makes navigation and casualty evacuation harder.
A plan built around a clock therefore sits on top of environmental variables that do not care about the headquarters timetable.
Load: why “distance” is incomplete
A ten-kilometre march is not one fixed thing. Ten kilometres on a road in daylight carrying light kit is different from ten kilometres at night through peat carrying ammunition and support weapons.
Mortarmen understand this particularly well. Bombs disappear quickly once a mission begins. Every round fired represents weight that somebody or something moved forward before H-hour.
That is why I read a campaign arrow by asking four questions: distance, surface, load and time. Leave any one out and the arrow tells only part of the story.
Communications and terrain
Radio systems are also tied to geography. High ground can improve line of sight; the same ridge can mask a station on its reverse slope. Units moving across East Falkland had to keep battalion, brigade, artillery and air-support communications functioning while headquarters displaced and terrain changed.
That is the hidden connection between maps and command. A commander can only exploit what he understands, and understanding depends on reports moving faster than the tactical situation changes.
What the campaign map should really show
If a map could display friction, the 1982 campaign would contain another set of symbols:
- bogged vehicles;
- helicopters unavailable or lost;
- ammunition points;
- wet troops waiting for orders;
- radio dead ground;
- casualty routes;
- artillery displacement;
- jetties and landing craft;
- weather windows;
- the time required to reorganise after every move.
Those are the reasons a few centimetres on a campaign map can represent a day of hard work.
Wear the geography
- Falkland Islands 1982 Map T-Shirt
- East Falkland 1982 Map T-Shirt
- Mount Longdon 1982 T-Shirt
- Goose Green 1982 T-Shirt
Browse the full Falklands War collection.
Sources & further research
- National Army Museum — The British Army and the Falklands War
- Hew Pike — first-hand account of the approach to and battle for Mount Longdon
- RAF Air Historical Branch — Falklands operational study
- Falkland Islands battlefield guide — terrain and surviving sites
- Wikimedia Commons — land-operations map and source trail
- Julian Thompson, No Picnic; Martin Middlebrook, The Falklands War, 1982; Lawrence Freedman, The Official History of the Falklands Campaign, Volume II.
