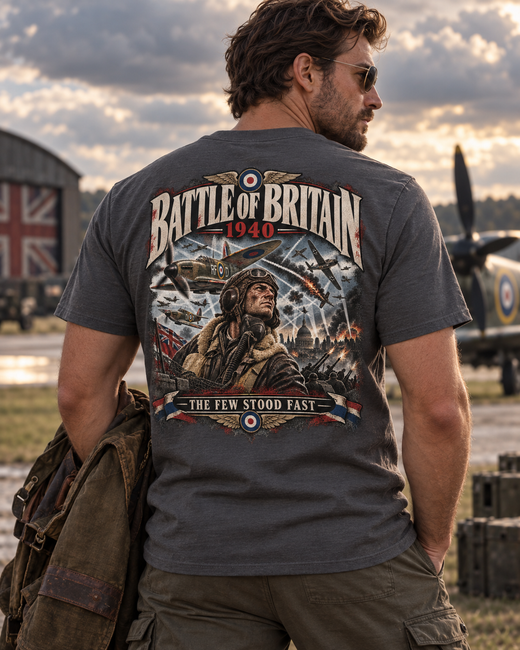
Battle of Britain 1940: Complete Field Guide — Fighter Command, Luftwaffe & Dowding System // Log 064

Field Note // Log 064
The Battle of Britain is easy to turn into legend because the real story already sounds dramatic: a country expecting invasion, young fighter crews scrambling from grass airfields, radar plots moving across maps and German formations appearing over the coast. The danger with the legend is that it turns a complicated air-defence system into a duel between Spitfires and Messerschmitts. Britain survived because the whole system kept working.
The short answer
The recognised Battle of Britain period runs from 10 July to 31 October 1940. After France fell, Germany needed to neutralise RAF Fighter Command if an invasion of southern Britain was to have any realistic prospect. The Luftwaffe attacked shipping, coastal targets, radar stations, fighter airfields and later London. Fighter Command bent but did not break.
The British advantage was not one miracle weapon. Radar, the Royal Observer Corps, filter rooms, telephone networks, sector stations, controllers, ground crews, aircraft production and pilots all formed an integrated air-defence system under Air Chief Marshal Hugh Dowding.
What Germany needed
Operation Sea Lion, the proposed invasion of Britain, could not simply sail across the Channel under an active RAF and Royal Navy. The Luftwaffe therefore had to win sufficient control of the air to make the crossing and follow-on supply remotely plausible.
That did not necessarily mean destroying every RAF fighter. It meant making Fighter Command unable to interfere effectively. Airfields, command infrastructure and aircraft on the ground were therefore as important as victories in dogfights.
The Dowding system
Chain Home radar gave early warning of raids approaching the coast. Once aircraft crossed inland, the Royal Observer Corps helped track them visually. Information flowed to Fighter Command headquarters, group and sector control rooms. Controllers then sent squadrons where they were needed.
The point was efficiency. Britain did not have to keep every fighter airborne waiting for the enemy. Squadrons could remain on the ground until the system told them when and where to climb. That saved fuel, reduced pilot fatigue and concentrated limited aircraft.
The RAF Museum describes this as the first truly integrated air-defence system. Radar was vital, but radar on its own was not enough. Information had to reach somebody who could turn it into an order in time.
Hurricanes, Spitfires and people
The Spitfire became the symbol, but Hurricanes equipped more Fighter Command squadrons and carried a large share of the fighting. Both were part of a larger system that included armourers, fitters, riggers, radar operators, plotters, observers, controllers, anti-aircraft crews and rescue services.
The pilots were not all British. Men from Poland, Czechoslovakia, New Zealand, Canada, Australia, South Africa and other Allied countries fought in Fighter Command. Polish squadrons in particular proved highly effective once committed.
The phases
In July, much of the fighting centred on Channel shipping and coastal operations. In August the Luftwaffe launched a larger effort against Fighter Command. Radar stations and sector airfields were attacked, and 11 Group in south-east England came under enormous pressure.
On 7 September the main weight shifted toward London. Bombing the capital caused terrible civilian casualties, but the change also reduced sustained pressure on parts of Fighter Command’s airfield and control network. The famous fighting on 15 September demonstrated that the RAF still had the strength to put substantial formations into the air.
After that, the Luftwaffe increasingly shifted toward night bombing and the wider Blitz. The invasion threat did not disappear overnight, but the attempt to destroy Fighter Command as an effective daylight force had failed.
What combat actually demanded
A fighter pilot could spend hours waiting and then be airborne within minutes. The engagement itself might last only seconds before the formation scattered. Fuel state mattered constantly. Chasing an enemy too far could leave a pilot short of fuel over the Channel. Damage that looked survivable at altitude could become fatal on approach.
Ground crews worked repeated turnarounds. A serviceable aircraft mattered as much as a nominal aircraft on strength. Damaged machines had to be repaired, guns re-armed, oxygen and fuel replenished and engines kept running despite high sortie rates.
Was radar the battle winner?
Yes and no. Radar was indispensable, but calling it the single battle-winning invention misses the organisation around it. The Luftwaffe knew Britain had radar. What German commanders did not fully appreciate was how effectively radar information was fused with observers and fighter control.
The RAF Museum also notes that Chain Home had limitations, especially after raids crossed inland. The strength was integration, not perfection.
Myth check
“The Few were almost entirely English Spitfire pilots.” No. Hurricanes were more numerous and Fighter Command was multinational.
“Germany lost because it accidentally bombed London and Hitler got angry.” The shift to London had multiple strategic and operational causes. It did ease pressure on important Fighter Command infrastructure, but the simple revenge-story version is too neat.
“Britain was always one day from running out of fighters.” Fighter Command was under severe pressure, especially in pilots and 11 Group infrastructure, but British aircraft production remained strong. The crisis was real without needing the more dramatic myths.
Why Britain won
Britain fought over home territory, recovered some downed pilots, had shorter operational distances and possessed an integrated warning-and-control system. German crews shot down over Britain were prisoners; RAF pilots who survived could sometimes return to their squadrons. British industry continued replacing aircraft. Most importantly, Fighter Command refused to be drawn into the kind of battle the Luftwaffe needed it to lose.
The victory was defensive. Britain had not defeated Germany on the continent. What it had done was deny Germany the control of the air required for an invasion attempt and prove that the war in the west was not over.
Sources & further reading
- RAF Museum — Radar: The Battle Winner?
- RAF Museum — How Radar Works and the Dowding System
- Stephen Bungay, The Most Dangerous Enemy.
- James Holland, The Battle of Britain.
Continue through the archive
Start with Dunkirk 1940, then return to the Second World War & Remembrance hub.
Related design: Battle of Britain 1940 WW2 T-Shirt.
SHOP THIS FIELD NOTE
 Battle of Britain 1940 WW2 T-Shirt | RAF Aviation History Tee€29,95 EURView design →
FIELD GEAR
From this Field Note
The products below are the designs already linked to this article. Prices are shown in the currency selected for your market.