


Royal Navy 1914–1918: Blockade, Jutland, U-Boats & Convoy — The Maritime War Behind the Trenches // Log 028
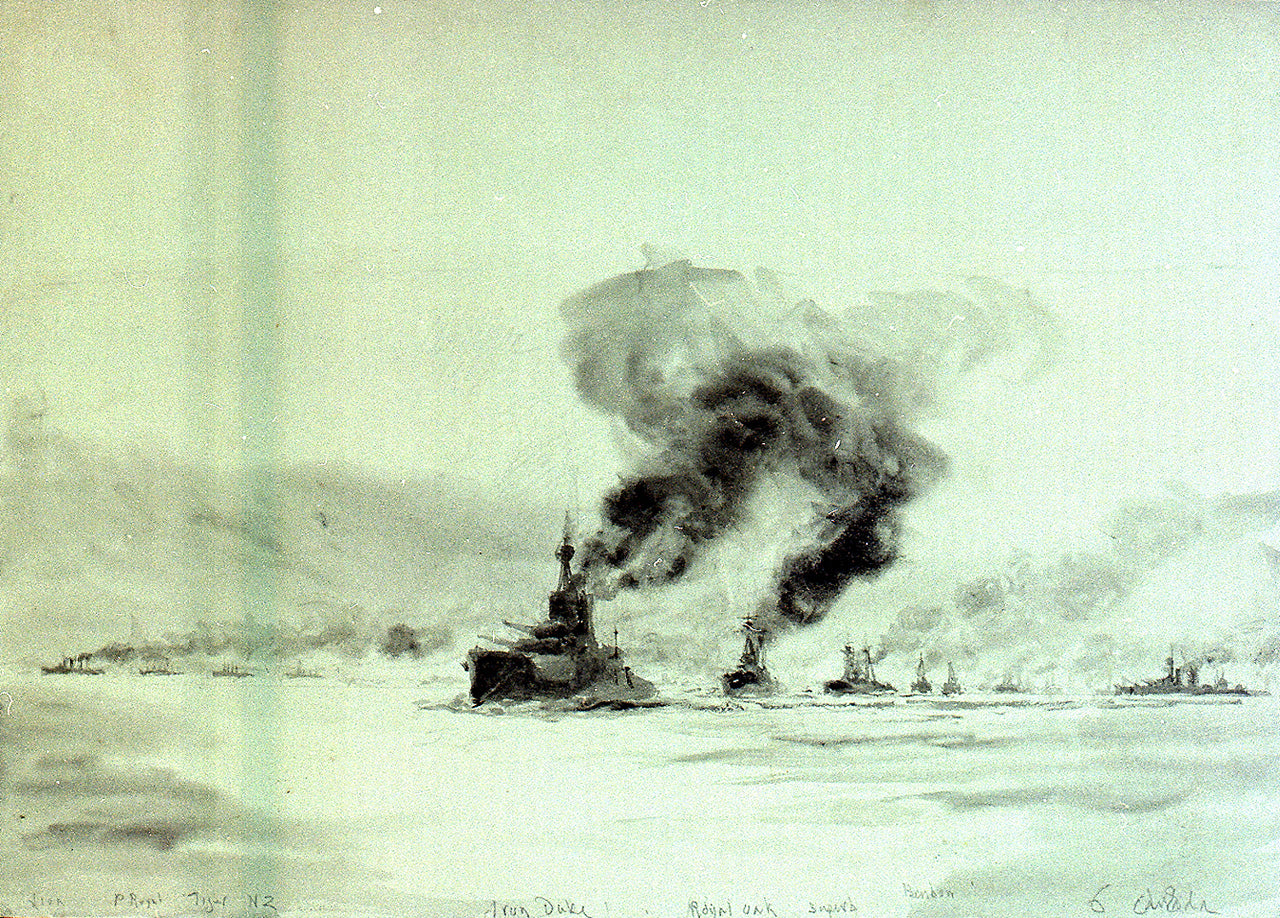
The Western Front depended on the sea. Britain could field and sustain a mass army in France only while ships continued to bring food, fuel, ammunition, raw materials, troops and equipment across the world's oceans. The Royal Navy's First World War was therefore much larger than one fleet battle. Jutland mattered enormously, but so did blockade, trade protection, minesweeping, overseas stations, intelligence, submarines, destroyers and—by 1917—the convoy system that helped keep Britain's maritime lifeline open.
My own service was in infantry, reconnaissance, communications and technical roles, not naval warfare. What I naturally notice here is routes and sustainment, command information, the difference between finding the enemy and decisively engaging him, and the way communications and logistics determine what a force can actually do. At sea those problems appear on a different scale, but they are impossible to separate from the fighting.
At a glance
- War: First World War, 1914–1918
- British strategic requirement: keep sea communications open, protect trade and troop movement, sustain the war economy and contain the German High Seas Fleet
- German strategic problem: challenge a numerically stronger British battle fleet and attack Britain's dependence on seaborne trade
- Major themes: Grand Fleet deterrence, blockade, Coronel and the Falklands, Dardanelles, Jutland, unrestricted submarine warfare and convoy
- Central fleet action: Battle of Jutland, 31 May–1 June 1916
- Strategic result at Jutland: heavier British losses, but the High Seas Fleet failed to break British control of the North Sea
The political and strategic road to war
Britain entered the twentieth century dependent on maritime trade and determined to retain naval superiority. Germany's rapid naval expansion under Kaiser Wilhelm II and Admiral Alfred von Tirpitz intensified an Anglo-German arms race centred on modern battleships. The launch of HMS Dreadnought in 1906 reset the competition by making earlier battleships comparatively obsolete and accelerating investment on both sides.
That rivalry did not by itself cause the First World War, but it shaped the military balance in 1914. Britain possessed the larger battle fleet and could concentrate it in home waters. Germany's High Seas Fleet was powerful enough that the Royal Navy could not ignore it, yet not normally strong enough to seek a simple head-on decisive battle against the entire Grand Fleet.
This created two different strategic problems. Britain needed to preserve command of the sea without gambling away the fleet that underpinned it. Germany needed to change the terms of the contest—by isolating part of the British fleet, using mines and submarines, or striking at merchant shipping rather than trying to destroy the Grand Fleet outright.
The Royal Navy as a system
The most visible element was the Grand Fleet, concentrated mainly at Scapa Flow and northern bases. Its existence constrained the High Seas Fleet even on days when no major battle was fought. Under Admiral Sir John Jellicoe, the fleet had to remain strong enough to defeat a German sortie and prevent Germany overturning Britain's command of the North Sea.
But the war at sea was not fought by battleships alone. Cruisers watched distant routes and supported blockade; destroyers screened capital ships and attacked with torpedoes; submarines operated in the North Sea and beyond; mines and minesweepers shaped movement; naval intelligence tracked German activity; overseas stations protected imperial and commercial communications; and the Merchant Navy carried the cargoes that made the entire national war effort possible.
Before Jutland: 1914–1915
August 1914 — fleet concentration and blockade
When Britain entered the war, the Grand Fleet's first task was to secure the maritime position rather than chase a single decisive encounter. The blockade of Germany developed into a long-term attempt to restrict overseas imports and strategic materials. It applied economic pressure to German industry and military supply, but it also affected civilians. Any serious account of the blockade has to hold both facts together: it was a weapon of war, and its human consequences extended beyond armed forces.
1 November 1914 — Coronel
Off Chile, Vice-Admiral Maximilian von Spee's German East Asia Squadron defeated Rear-Admiral Sir Christopher Cradock's British force at Coronel. Good Hope and Monmouth were lost. The defeat showed that global sea control could not simply be assumed because Britain possessed the larger navy overall.
8 December 1914 — Battle of the Falkland Islands
Britain responded by sending a stronger force including the battlecruisers Invincible and Inflexible under Vice-Admiral Doveton Sturdee. Most of Spee's squadron was destroyed off the Falkland Islands. The sequence—Coronel followed by the Falklands—illustrated Britain's ability to move naval strength across global routes, but also the cost of getting the initial concentration wrong.
18 March 1915 — the Dardanelles
An Anglo-French fleet attempted to force the Dardanelles and open a route toward Constantinople. Mines and Ottoman coastal defences inflicted severe losses. The naval attack failed, and the subsequent Gallipoli land campaign also ended without achieving its strategic objective. It was a reminder that heavy ships could not simply batter their way through every defended littoral problem.
Jutland: why both fleets sailed
By 1916 Admiral Reinhard Scheer wanted to use the High Seas Fleet more aggressively. The German concept was to draw out and destroy an isolated British formation before Jellicoe could concentrate the Grand Fleet. Vice-Admiral Franz Hipper's battlecruisers would operate as the forward striking and scouting force.
British signals intelligence complicated that plan. The Admiralty had enough warning of German activity to order both Jellicoe and Vice-Admiral Sir David Beatty to sea. What followed was not a pre-arranged meeting of two neat battle lines. It was a reconnaissance encounter that expanded until the two main fleets were committed.
Order of battle — British Grand Fleet
- Commander-in-Chief: Admiral Sir John Jellicoe — Grand Fleet flagship HMS Iron Duke.
- Main Battle Fleet: 24 dreadnought battleships in the 1st, 2nd and 4th Battle Squadrons.
- Battlecruiser Fleet: Vice-Admiral Sir David Beatty — Lion, Princess Royal, Queen Mary, Tiger, New Zealand and Indefatigable.
- 5th Battle Squadron: Rear-Admiral Hugh Evan-Thomas — the fast Queen Elizabeth-class battleships Barham, Valiant, Warspite and Malaya, operating with Beatty's force.
- 3rd Battlecruiser Squadron: Rear-Admiral Horace Hood — Invincible, Inflexible and Indomitable, initially with the main fleet.
- Supporting forces: armoured and light cruisers, destroyer flotillas, the seaplane carrier Engadine and other attached vessels.
Order of battle — German High Seas Fleet
- Commander-in-Chief: Vice-Admiral Reinhard Scheer — fleet flagship SMS Friedrich der Grosse.
- Main Battle Fleet: 16 dreadnought battleships plus six older pre-dreadnoughts, organised principally in the I, II and III Battle Squadrons.
- I Scouting Group: Vice-Admiral Franz Hipper — battlecruisers Lützow, Derfflinger, Seydlitz, Moltke and Von der Tann.
- Supporting forces: light cruisers and large numbers of torpedo boats organised in scouting groups and flotillas.
The numbers matter because they explain the tactical logic. Jellicoe's strongest weapon was his superior battle line. Scheer had to avoid allowing that line to deliver a sustained concentrated blow and therefore relied heavily on manoeuvre, torpedoes and the ability to break contact.
Key personalities


31 May 1916 — battle chronology
Afternoon: contact and the Run to the South
British and German scouting forces made contact during the afternoon. At roughly 15:50 Beatty and Hipper's battlecruisers opened the main action. Hipper turned south toward Scheer's approaching fleet and Beatty followed. This was the phase later known as the Run to the South.
German gunnery was devastating. Indefatigable was destroyed by a magazine explosion shortly after the action began; Queen Mary followed later in the running fight. The four battleships of the 5th Battle Squadron added heavy fire but initially operated behind Beatty's faster battlecruisers.
Late afternoon: the trap reverses
When Beatty's force sighted Scheer's main battle fleet, the British turned north. The reconnaissance battle had changed character. Beatty was now drawing the German fleet toward Jellicoe's approaching Grand Fleet. Hipper followed at the head of the German formation, and the High Seas Fleet moved into increasingly dangerous waters.
Early evening: Jellicoe deploys
Jellicoe approached with his battleships still in cruising columns and had to decide which way to deploy his entire battle fleet with incomplete information about the enemy's exact bearing. He deployed to port, forming the Grand Fleet into a battle line across the German advance. It was the moment the German attempt to isolate part of the British fleet turned into a confrontation with Britain's full capital-ship strength.
British fire damaged the German line, but visibility was poor and uneven. Scheer ordered a mass battle turn away. Later, when the fleets came together again, he used another turn, torpedo attacks and a desperate battlecruiser advance to cover withdrawal.
Night: escape
Night fighting involved destroyers, cruisers and sections of the German battle line passing through or close to British screening forces. Scheer's fleet ultimately crossed the British rear and reached its bases. Jellicoe did not obtain the annihilating Trafalgar-style victory much of the British public had imagined.
A voice from the battle
Jellicoe's own operational telegram of 2 June is valuable because it shows the battle as commanders experienced it rather than as a clean map drawn afterward. He reported Beatty's opening action, the destruction of Indefatigable and Queen Mary, the sighting of the German battle fleet and the difficulty of fighting through mist and limited visibility. The National Archives preserves that telegram alongside the service record of sailors such as John Ackrill, who died when Indefatigable was lost.
That human layer matters. Fleet diagrams show formations; they do not show what a magazine explosion meant to the ship's company, or how quickly hundreds of individual lives could disappear when a capital ship broke apart.
Who won Jutland?
If the measure is immediate damage, Germany had the stronger claim. Britain lost 14 ships to Germany's 11 and roughly 6,100 British sailors were killed compared with 2,551 German dead. Several British battlecruisers were destroyed catastrophically.
If the measure is strategic control, the picture is different. The High Seas Fleet did not break the blockade, did not destroy the Grand Fleet and did not overturn Britain's command of the North Sea. Imperial War Museums notes that Britain could put 24 dreadnoughts to sea after the battle while Germany had only ten fit to fight. The German surface fleet remained dangerous, but it never achieved the strategic reversal Scheer had sought.
That is why Jutland resists the simple word 'victory'. Germany inflicted heavier tactical loss; Britain retained the maritime strategic position for which the Grand Fleet existed.
1917: the U-boat crisis
Unable to overturn British sea power with the battle fleet, Germany increasingly attacked Britain's economic system through submarines. Unrestricted submarine warfare was resumed in February 1917. Merchant losses threatened food, fuel, raw materials and military supply on a scale that turned shipping into a national strategic emergency.
The response was not one magic anti-submarine weapon. It was another system: intelligence, patrols, escorts, routeing, mines, anti-submarine measures and, increasingly, convoy. Grouping merchant ships under escort concentrated protection and made the ocean traffic problem more manageable. Convoy was introduced after significant debate inside government and the Admiralty, but losses declined as it became established.
The blockade and its consequences
At the same time Britain continued to restrict Germany's access to overseas trade. The blockade worked slowly compared with a fleet action, but that was the point: maritime pressure could be continuous even when battleships were in harbour. It contributed to shortages of food, fertiliser, fuel and industrial inputs inside Germany and the Central Powers.
The civilian consequences were severe and remain part of the historical argument over blockade warfare. The Royal Navy's strategic success cannot be separated from that reality. Sea power was being used against an enemy war economy whose military and civilian systems were intertwined.
Why the Royal Navy mattered to the war on land
The British Army on the Western Front consumed extraordinary quantities of ammunition, food, horses, fuel, engineering stores and replacements. Much of that system began with a ship. Dominion and imperial troops crossed oceans. American troops and material later crossed the Atlantic. Britain's own population depended heavily on imported food and raw materials.
The Navy did not need to shell German trenches to shape the land war. It kept the network behind those trenches supplied while placing pressure on the enemy's network. That is the larger meaning of British sea power in 1914–1918.
Field lessons
- Sea control is a condition, not a single battle. Jutland mattered because of what both fleets could still do afterward.
- Reconnaissance can become the main fight. Beatty and Hipper began as forward forces; their contact drew in two battle fleets.
- Information drives manoeuvre. Jellicoe's deployment decision had to be made before he possessed a perfect picture.
- Strategic assets change acceptable risk. The Grand Fleet was not expendable simply because a more dramatic tactical opportunity might exist.
- Logistics is combat power. The blockade and the defence of merchant shipping affected armies, factories and civilian endurance.
- Adaptation matters more than slogans. When unrestricted submarine warfare created a crisis, Britain changed the organisation of trade protection through convoy.
Wear the history
The design linked directly to this Field Note is the Royal Navy 1914–1918 Vintage Battleship Tee. The point of the design is not simply a battleship silhouette: it represents the maritime system that kept Britain connected to the wider war from 1914 to 1918.
Sources and further reading
- The National Archives — Royal Navy operations in the First World War
- The National Archives — Jutland: Death at Sea, primary records and casualty context
- Imperial War Museums — significance of the Battle of Jutland
- Official despatches and order of battle — Battle of Jutland
- Wikimedia Commons — US Military Academy Jutland movement map and public-domain record
I keep the opening formations separate from the wider naval organisations and use rounded casualty figures where authoritative sources differ slightly. Public-domain or openly licensed images are identified in their captions.
